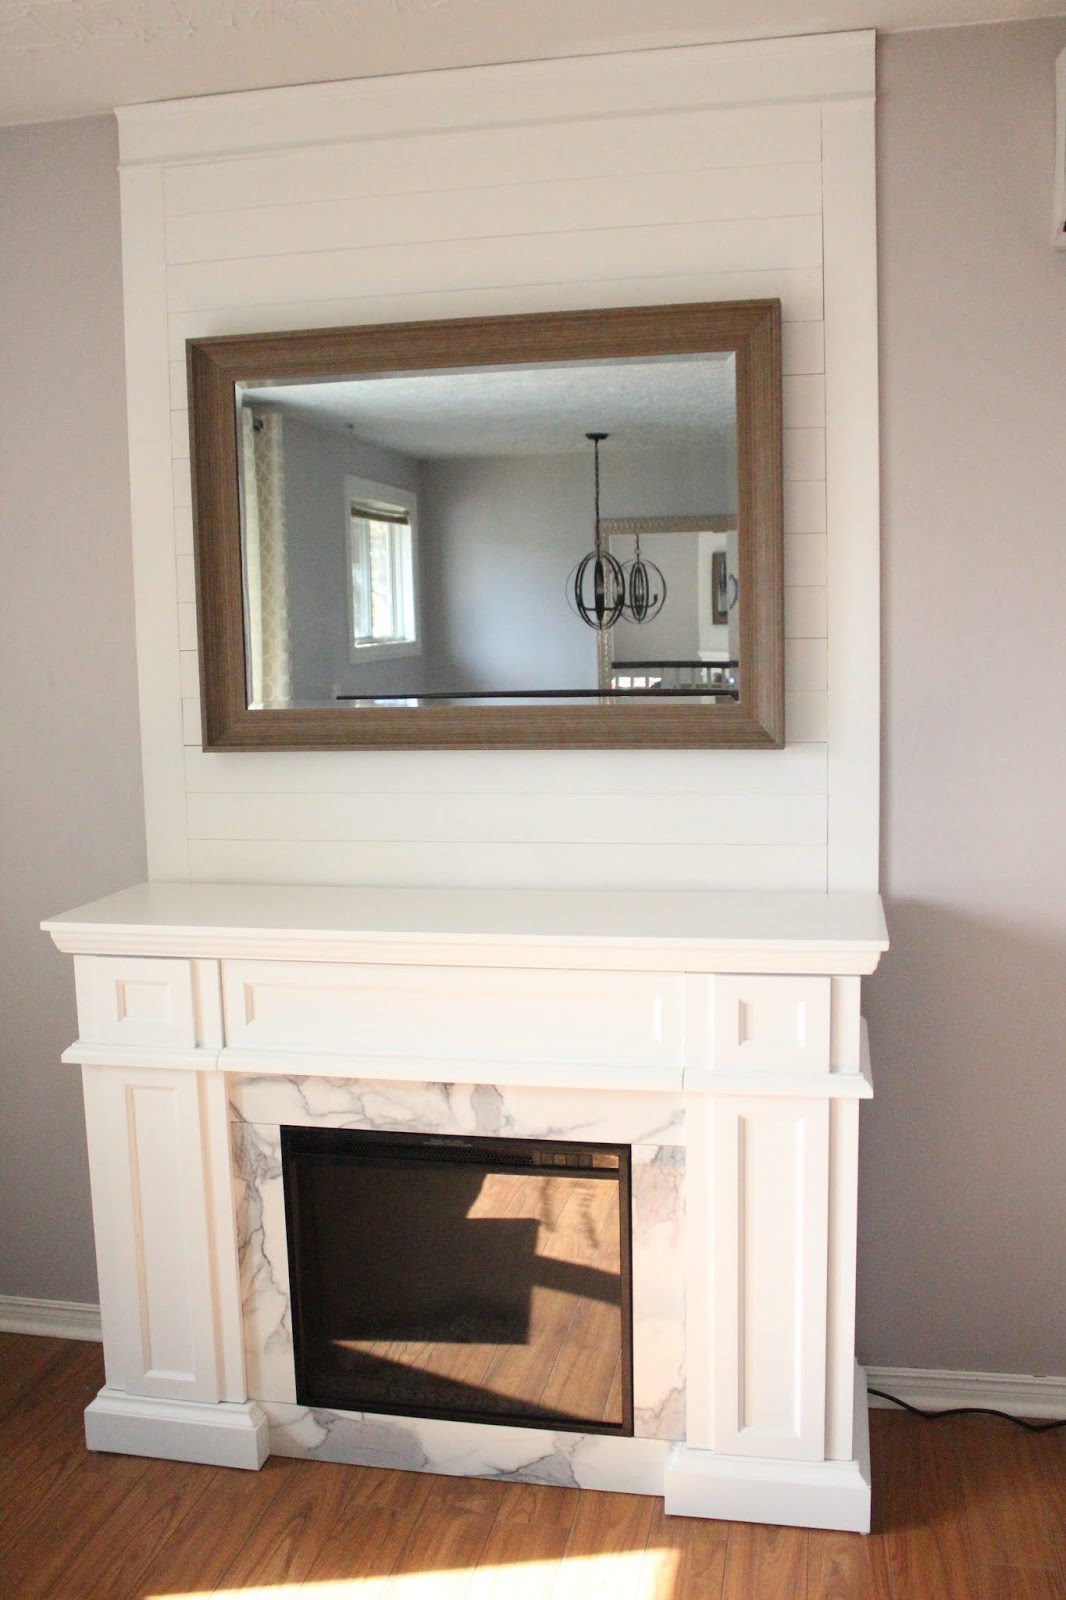
There's nothing quite like sitting by the fire during the colder months. We absolutely love our electric fireplace but something was missing. It just looked so plain smack in the middle of the wall.
We really loved the looked of a shiplap wall above the fireplace but we really didn't want to spend a bunch of money or have to attempt a difficult job doing it ourselves.
We compromised and decided to add some detailed trim to decorate the mantle!
It was quite an easy DIY and it seriously turned out incredibly beautiful, not to mention it adds more value to our home, so that will help when we go to sell this coming spring!
Below are the steps we took to create our beautiful and easy "Alexandria Moulding Fireplace Accent Wall"
*This project was completed in partnership with The Home Depot Canada and Alexandria Moulding. We received product and compensation as part of this partnership but design, product selections and opinions are my own.
MATERIALS NEEDED
- Tape measure
- Level
- Alexandria Moulding Trim
- Alexandria Trim Header
- Nail Gun (this one is a great deal)
- 2" Finishing Nails
- No More Nails Adhesive
- Caulking Gun
- Saw to cut the trim (we used one similar to this)
- LePage Polyfilla
- Paint
- Drywall Anchors
STEP 1 - MEASURE
We measured the size of our area and calculated how many boards we would need. We also figured out where the studs were located and marked them out with pencil and a level all the way down.
 These are the pieces we used for the sides "the border" and the horizontal pieces, we used 17 of these pieces below.
Alexandria Moulding 1/2-inch x 3-1/2-inch x 8 ft. Primed Fibreboard Base ValuPAK
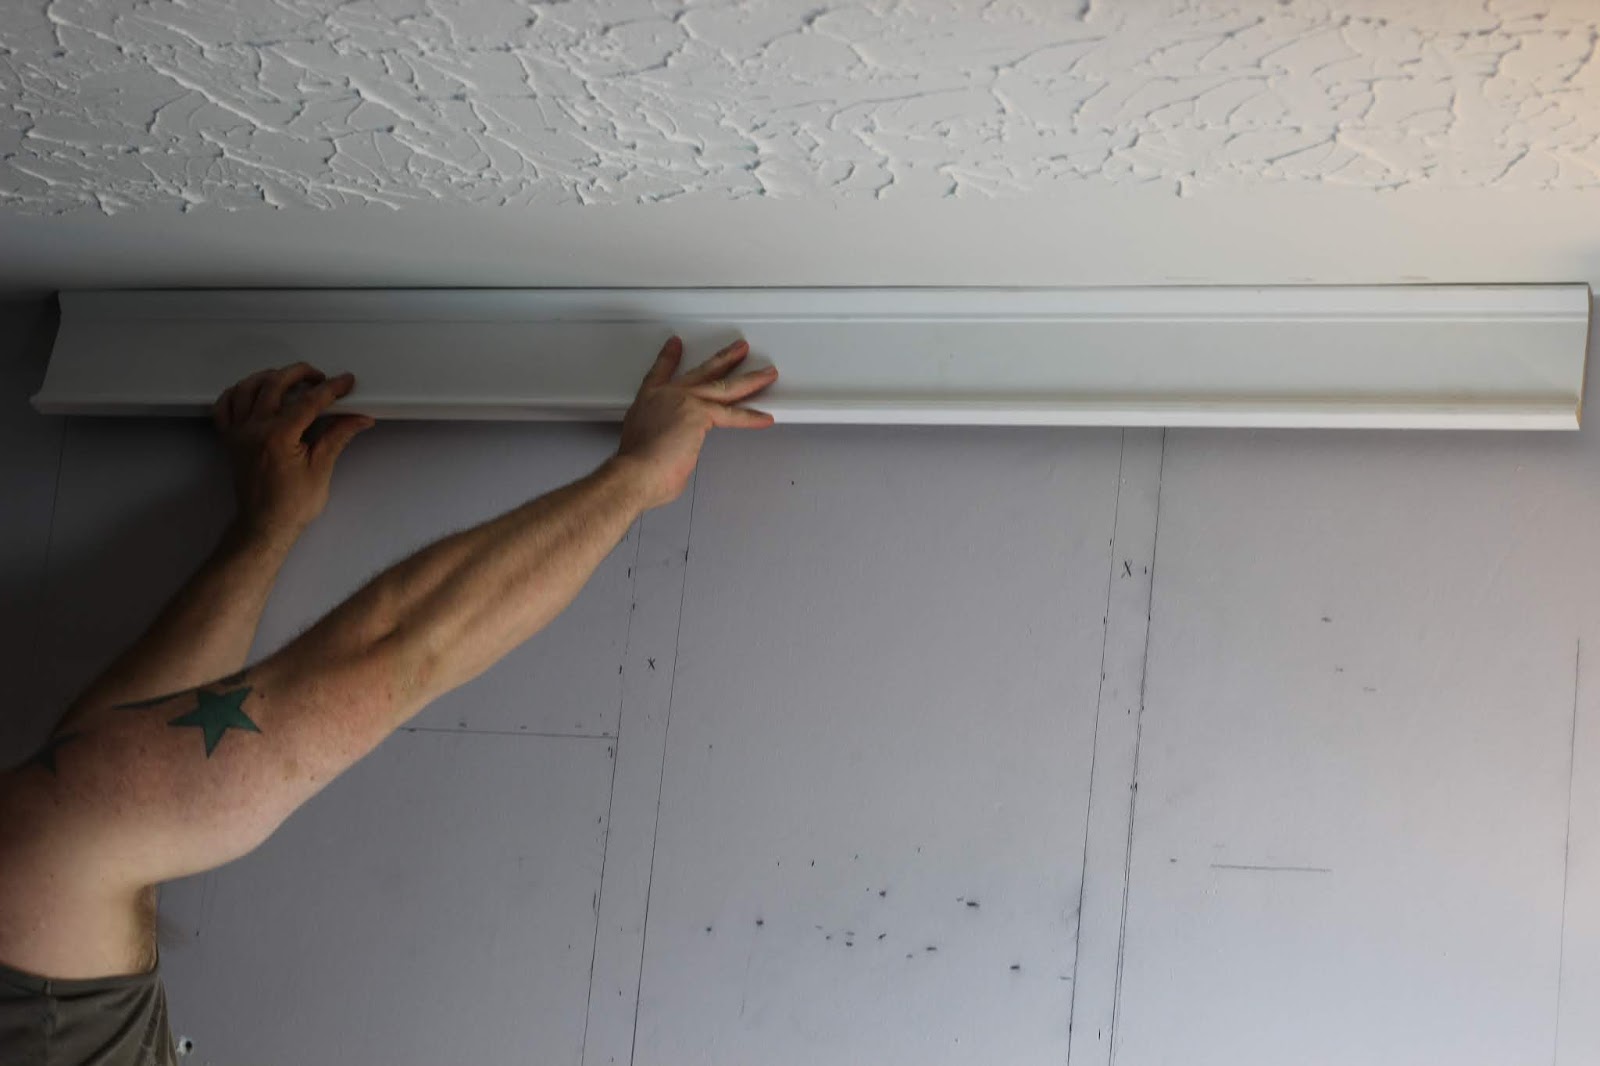
We used this piece below as the "top" of the border. I love the detail and it makes it look a bit more elegant with the more detailed piece on top.
Alexandria Moulding Primed Mdf Boston Header/Architrave 1 X 4 1/2
STEP 2 - CUT, GLUE, STAPLE
After we measured the area and marked each board, we cut the pieces with a mitre saw. We then used "No More Nails" adhesive to apply the board prior to using the nail gun.
We started at the top and worked our way down to the bottom. We watched a few YouTube videos that said it looks better and less noticeable having the smaller board at the bottom. Luckily, all of our boards just fit and we didn't have to cut any off!
After applying the glue to a board, we then broke out the nail gun! We used 2" 16 gauge angled finishing nails. We would glue a board, nail it and then start the next board working our way down.
After we had all the boards up and nailed in place, we covered all the nail holes with "LePage Polyfilla" and then painted it with a white paint.
STEP 4 - SECURING THE MIRROR
We were a bit worried that our mirror might be too heavy and could fall so we drilled in some dry wall anchors to make sure it was secure to hang.
It was seriously such an easy project and so inexpensive but has made such a HUGE difference to our living room!
We ended up having some pieces left over so we are going to be putting this on the wall in our bathroom closet. We're also going to do our kitchen ceiling like this so stay tuned for some more fun projects!
We ended up having some pieces left over so we are going to be putting this on the wall in our bathroom closet. We're also going to do our kitchen ceiling like this so stay tuned for some more fun projects!


No comments:
Post a Comment